
Looking for a cost-effective, scalable, and secure solution for hosting your static website? Amazon S3 (Simple Storage Service) provides a robust platform perfectly suited for hosting static websites. This comprehensive guide will walk you through the process of setting up your static website hosting on Amazon S3, from initial bucket configuration and permission settings to optimizing performance and enhancing security. Learn how to leverage the power of S3 for serving your HTML, CSS, JavaScript, and other static assets, ultimately creating a high-performing, reliable, and affordable online presence.
This tutorial covers everything you need to know about hosting a static website on Amazon S3. We will delve into the essential steps of configuring your S3 bucket for website hosting, managing permissions for public access, and understanding key concepts such as bucket policies and CORS configuration. By the end of this guide, you’ll be equipped with the knowledge and practical skills to successfully deploy and manage your static website on Amazon S3, taking advantage of its scalability, security, and cost-effectiveness. Follow along and learn how to transform your S3 bucket into a powerful static web host.
Why Use S3 for Static Hosting?
Amazon S3 (Simple Storage Service) presents a compelling solution for hosting static websites due to several key advantages. Cost-effectiveness is a primary factor. S3’s pay-as-you-go pricing model means you only pay for the storage and bandwidth you consume, often resulting in significantly lower costs compared to traditional web hosting.
Scalability is another major benefit. S3’s infrastructure is designed for massive scalability, effortlessly handling traffic spikes without requiring manual intervention. This ensures your website remains accessible even during periods of high demand.
Security is paramount, and S3 provides robust security features. Access control mechanisms allow you to manage permissions and ensure only authorized users can access your website’s content. Data encryption options further enhance the security of your static assets.
Simplicity is a key design principle of S3. Setting up a static website is straightforward, requiring minimal technical expertise. The intuitive interface and comprehensive documentation make the deployment process efficient and user-friendly.
Reliability is a hallmark of AWS services, and S3 is no exception. Data is replicated across multiple availability zones, ensuring high availability and durability. This minimizes the risk of downtime and ensures your website remains accessible to visitors.
Setting Up Your S3 Bucket
The first step in hosting a static website on Amazon S3 is creating an S3 bucket. A bucket is a container for your website’s files. Give your bucket a globally unique name. This name will also be part of your website’s URL, so choose it wisely.
When creating the bucket, pay close attention to the region selection. Select a region geographically close to your target audience for optimal performance. After creating the bucket, you’ll need to configure it for website hosting. This involves enabling static website hosting in the bucket’s properties.
You’ll need to specify the index document (usually index.html) and the error document (for example, 404.html). These documents dictate what S3 serves when a user visits your website’s root URL or encounters an error, respectively.
Permissions are crucial for making your website publicly accessible. By default, S3 buckets are private. You must configure a bucket policy to grant public read access to the objects within. This ensures visitors can view your website’s content. Be mindful of security best practices and grant only the necessary permissions.
Configuring Permissions and Index Files
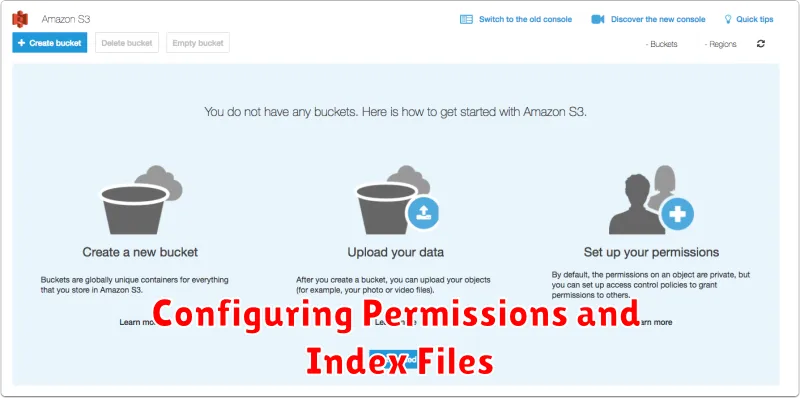
After uploading your static website files to the S3 bucket, you need to configure appropriate permissions and specify index files. This ensures your website content is publicly accessible and that the correct file is served when users visit your site.
Permissions: By default, S3 buckets and their contents are private. To make your website publicly accessible, you must modify the bucket’s access control list (ACL). You can do this by either granting public read access to the entire bucket or to individual objects within the bucket. Granting access to the entire bucket is often the simplest approach for static websites.
Index Files: You must configure an index document for your S3 bucket. This document will be served when users access the root of your website or any subdirectory that doesn’t contain a specifically requested file. The typical index document name is index.html, but you can also use other filenames, such as index.htm. You configure this setting within the S3 bucket’s properties.
Using Custom Domains and SSL
While S3 provides a default website endpoint, using a custom domain offers a more professional and user-friendly experience. This involves configuring a DNS record, specifically a CNAME record or an A record pointing to your S3 bucket’s website endpoint. Route 53, Amazon’s DNS service, simplifies this process, though you can use any DNS provider.
SSL certificates are crucial for secure communication. Amazon Certificate Manager (ACM) lets you provision and manage SSL certificates easily, often at no additional cost. After obtaining a certificate, you’ll associate it with your S3 bucket’s distribution through CloudFront. CloudFront acts as a content delivery network (CDN), caching your static content closer to users for faster loading times and improved security.
Configuring CloudFront involves creating a distribution, specifying your S3 bucket as the origin, and associating your SSL certificate. Once set up, CloudFront provides a domain name which you can then link to your custom domain via a CNAME record. This setup ensures that your static website is delivered securely over HTTPS.
Integrating with CloudFront for CDN
While Amazon S3 can host static websites directly, integrating with Amazon CloudFront significantly enhances performance and availability through its global content delivery network (CDN) capabilities. CloudFront caches your website’s content on edge locations around the world. When a user requests content, it’s served from the nearest edge location, reducing latency and improving load times.
To integrate S3 with CloudFront, you create a CloudFront distribution and specify your S3 bucket as the origin. CloudFront then pulls the content from your S3 bucket and distributes it across its network. This process is typically straightforward within the AWS Management Console.
Key benefits of using CloudFront include improved performance through reduced latency, increased availability due to the distributed nature of the CDN, and enhanced security features like DDoS protection and HTTPS support. CloudFront also offers cost savings by reducing data transfer out of your S3 bucket.
Deploying via CLI or GitHub Actions
Deploying your static website to Amazon S3 can be efficiently achieved using either the AWS Command Line Interface (CLI) or GitHub Actions. The CLI offers a direct and programmatic approach, providing granular control over the deployment process. It is ideal for individual developers or teams who prefer scripting and automation.
To utilize the CLI, you’ll need to install and configure the AWS CLI on your local machine. Key commands include aws s3 sync for synchronizing your local files with your S3 bucket and aws s3 cp for copying specific files or folders. Ensure your bucket is configured for website hosting with appropriate permissions.
GitHub Actions provides a seamless CI/CD pipeline that automates deployments directly from your GitHub repository. This approach streamlines the workflow, especially for collaborative projects. By defining a workflow file in your repository, you can trigger deployments on specific events like pushes to the main branch. You’ll need to configure AWS credentials as secrets within your GitHub repository.
Both methods offer significant advantages in terms of automation, speed, and reliability. Choosing between them depends primarily on your existing workflow and comfort level with either the command line or CI/CD tools.
Monitoring and Troubleshooting
Monitoring your static website hosted on Amazon S3 is crucial for ensuring optimal performance and availability. CloudWatch provides essential metrics like data transfer, request count, and error rates. These metrics enable you to identify potential issues and optimize your website’s performance. Setting up alarms within CloudWatch allows you to receive notifications when specific thresholds are breached, enabling proactive responses to potential problems.
Troubleshooting common issues involves examining access logs, verifying bucket policies, and confirming DNS configurations. Access logs provide detailed information about every request made to your website, helping you pinpoint the source of errors. Incorrectly configured bucket policies can restrict access to your website’s content. Lastly, ensure your DNS records are correctly configured to point to your S3 bucket’s website endpoint.